
Classic Chocolate Chip Cookies
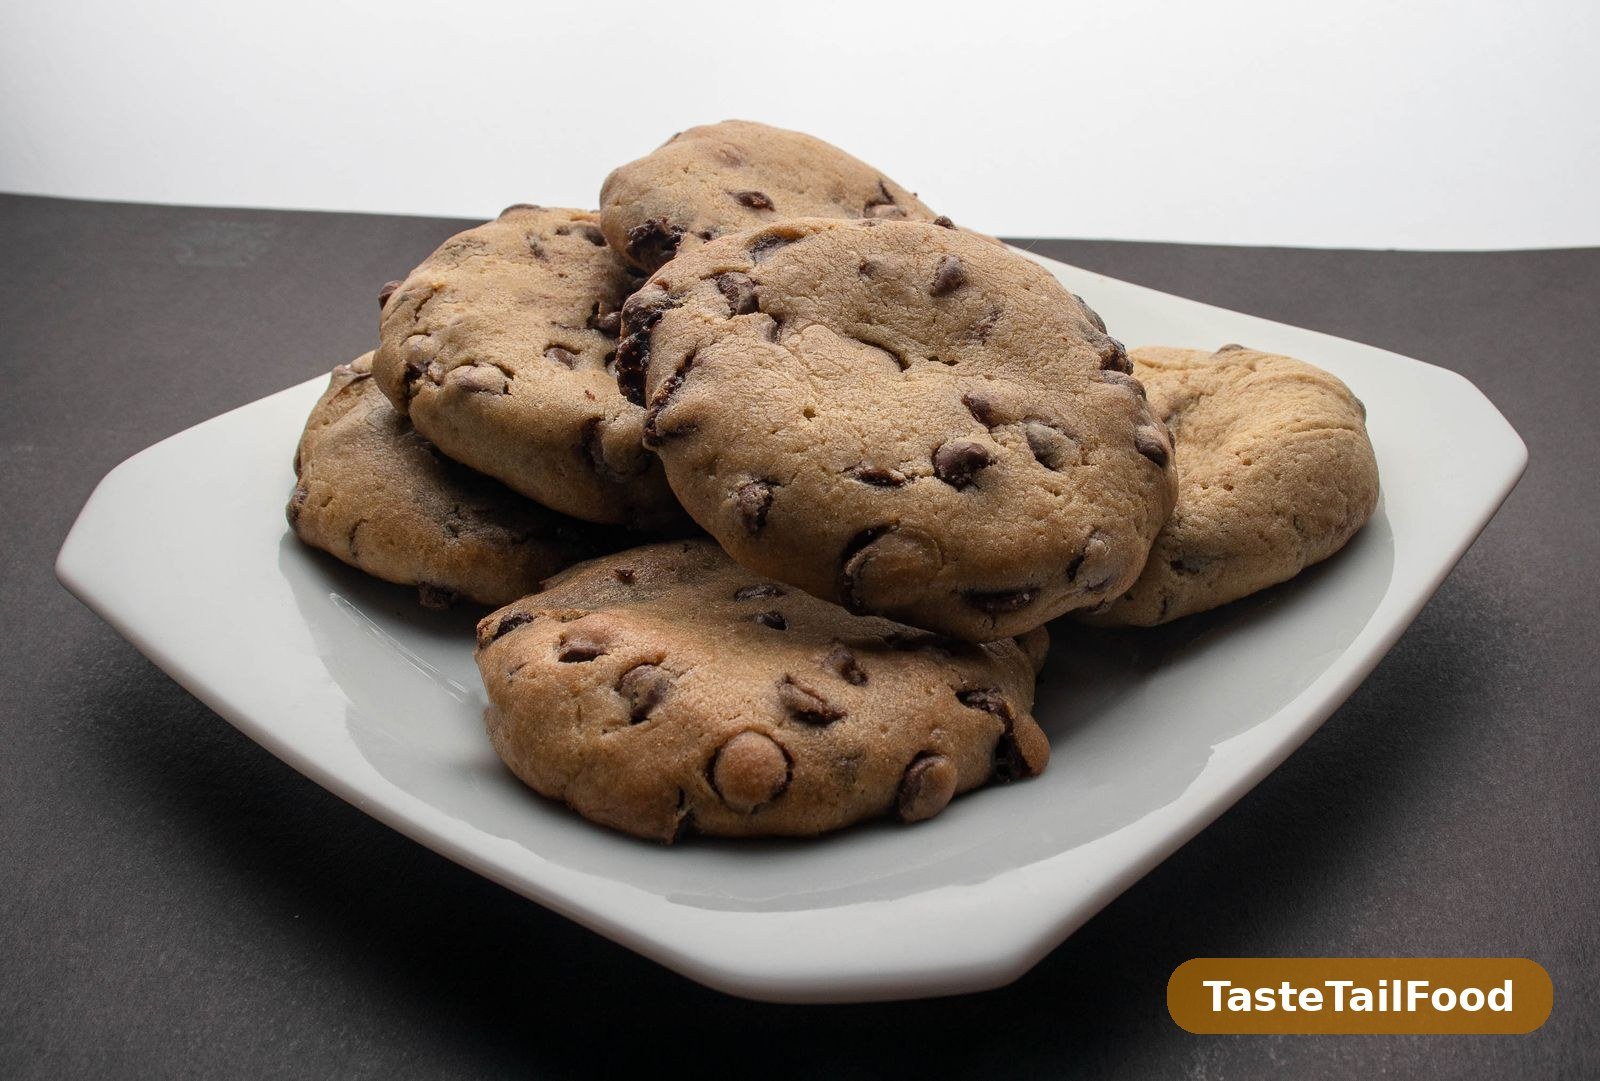
There is a smell that tells you everything is right in a house, and it is the smell of chocolate chip cookies in the oven. It drifts down the hallway, it pulls people out of their rooms, and it makes an ordinary Tuesday evening feel like something worth remembering. I have baked a lot of cookies over the years, and I keep coming back to this one recipe, not because it is fancy, but because it is the one that never lets me down. The cookies come out soft in the middle, crisp around the edges, and full of chocolate that is still warm and melty when you break one open.
I did not learn to make these from a cookbook. I learned them the way most good recipes get learned, which is by making them badly first. My first batch spread into one giant flat cookie that covered the whole tray. My second batch was so thick and cakey that they could have passed for muffins. It took a few tries to understand that the difference between a great cookie and a disappointing one is not talent or luck. It is a handful of small details, and once you know them, the recipe works every single time. That is what this recipe is: the version I make now, after all the flat ones and the cakey ones, written down exactly the way I make it in my own kitchen.
What I love most about chocolate chip cookies is that they ask so little of you. One bowl, a wooden spoon or a hand mixer, ingredients you probably already have, and about half an hour from start to finish. You do not need to chill the dough, you do not need any special equipment, and you do not need to be good at baking. If you can stir, you can make these. And the result is the kind of cookie that disappears from the cooling rack before it has properly cooled, which is really the only review that matters.
WHY THIS RECIPE WORKS
Most cookie recipes fail in one of two ways. They spread too much and turn into thin, greasy discs, or they stay too thick and bake up dry and cakey. The reason is almost always the butter, or the flour, or the balance between the two. This recipe gets that balance right, and it does it with ingredients you already know, measured the ordinary way.
The first thing is the butter. It should be soft, not melted and not cold from the fridge. Soft butter means butter that gives easily when you press it with a finger but still holds its shape. If the butter is melted, the cookies will spread before they have a chance to set, and you will get those thin, flat discs. If it is too cold, it will not cream properly with the sugar, and the cookies will be dense and heavy. I take the butter out of the fridge about forty-five minutes before I start, and on a cold day I cut it into cubes so it softens faster. That one habit alone fixes half of all cookie problems.
The second thing is the sugar. This recipe uses both brown sugar and white sugar, and they do different jobs. Brown sugar brings moisture and a soft, chewy middle, because it contains molasses, and molasses holds on to water. White sugar helps the edges crisp up and gives the cookies their golden colour. If you use only white sugar, the cookies come out thin and crunchy all the way through. If you use only brown sugar, they stay soft but never get those lovely crisp edges. The mix of the two is what gives you a cookie that is soft in the centre and crisp at the rim, which is exactly what a chocolate chip cookie should be.
The third thing is the flour, and more importantly, how you measure it. Too much flour is the most common reason cookies turn out dry and cakey, and it happens because people scoop the flour straight out of the bag with the measuring cup. That packs the flour down, and you end up with far more than the recipe calls for. The right way is to spoon the flour into the cup and level it off with a knife. It takes ten seconds longer and it changes everything. If you have a kitchen scale, even better — two hundred and eighty grams of plain flour is what you want, and a scale never lies. King Arthur Baking has a useful guide to how each ingredient changes a cookie, and it is worth a read if you have ever wondered why one batch turns out differently from another.
THE INGREDIENTS THAT MATTER
You do not need anything unusual for these cookies. Every ingredient is something you can find in an ordinary supermarket, and most of them are probably in your cupboard already. But each one does a real job, so it is worth knowing what it is there for before you start swapping things around.
Butter is the backbone. It gives the cookies their flavour and their tenderness, and it carries the brown sugar and vanilla through the dough. Use real butter, not margarine or a spread, because spreads contain water and they will make the cookies spread and go soggy. Salted or unsalted both work, but if you use salted butter, leave out the pinch of salt in the recipe, or the cookies will taste a little too salty once the chocolate goes in.
The chocolate is the star, so it is worth using chocolate you actually like eating. I use a mix of chocolate chips and chopped chocolate, because the chips hold their shape and the chopped pieces melt into little pools through the cookie. A bar of dark chocolate, roughly chopped, gives you those lovely uneven pockets of melted chocolate that make people go quiet when they take a bite. Milk chocolate works too, and it makes a sweeter cookie, which children usually prefer. Whatever you use, do not skimp on it. Three hundred grams sounds like a lot, but a chocolate chip cookie should be generous with its chocolate.
Eggs do two jobs. They bind the dough together, and they add richness and moisture. One large egg plus one extra yolk is the trick here. The extra yolk makes the cookie softer and chewier without making it cakey, and it adds a richness that a single egg on its own cannot quite manage. Use eggs at room temperature if you can, because cold eggs do not mix as smoothly into the butter and sugar, and you can end up with little lumps of butter in the dough. If you forgot to take them out, sit them in a bowl of warm water for five minutes and they will be fine.
Vanilla is the quiet ingredient that people underestimate. It does not taste like vanilla in the finished cookie, not really. What it does is round out the flavour of the butter and the brown sugar and make the whole thing taste more like itself. Use real vanilla extract if you have it, not the imitation kind, and be generous with it. A tablespoon might sound like a lot, but it disappears into the dough and leaves the cookies tasting warm and complete in a way that is hard to describe until you have tried it both ways.
And then there is the salt and the baking soda. Baking soda is what makes the cookies rise and spread just the right amount, and it needs the brown sugar to work properly, because brown sugar is slightly acidic and baking soda needs acid to activate. The salt is there to balance the sweetness. Without it, the cookies taste flat and one-note, no matter how much chocolate you put in. With it, the chocolate tastes more chocolatey and the sweetness has an edge to it. Do not leave it out.
WHAT YOU’LL NEED
This makes about twenty-four cookies, which sounds like a lot until you watch them disappear. If you want more, the recipe doubles easily, and the dough freezes well, so you can bake half now and keep half for another day.
For the dough:
- 225 g (1 cup) unsalted butter, softened
- 200 g (1 cup) light brown sugar, packed
- 100 g (1/2 cup) white sugar
- 2 teaspoons vanilla extract
- 1 large egg, at room temperature, plus 1 extra yolk
- 280 g (2 1/4 cups) plain flour, spooned and levelled
- 1 teaspoon baking soda
- 1/2 teaspoon fine salt
- 300 g (about 2 cups) chocolate chips, or chopped dark chocolate, or a mix of both
- Flaky sea salt, for sprinkling on top (optional, but lovely)
You will also need two baking trays, lined with baking paper, and a cooling rack if you have one. A cookie scoop makes the job faster and keeps the cookies the same size, but a tablespoon works just as well. If you do not have baking paper, grease the trays lightly, though baking paper is better because the cookies release more easily and the trays stay clean.
A word about the flour. I mentioned this already, but it is worth repeating, because it is the single most common mistake in cookie baking. Spoon the flour into your measuring cup and level it with a knife. Do not scoop. Do not shake the cup to settle it. If you have a scale, use it. Two hundred and eighty grams is the number, and it will give you cookies that are soft in the middle instead of dry and crumbly.
HOW TO MAKE CLASSIC CHOCOLATE CHIP COOKIES
Start by heating the oven to 175°C (350°F). Line two baking trays with baking paper and set them aside. You want the oven properly hot before the cookies go in, because a cool oven makes them spread slowly and bake unevenly. While the oven heats, you can get on with the dough, which takes about ten minutes.
Put the softened butter, the brown sugar, and the white sugar into a large bowl. Beat them together with a wooden spoon or a hand mixer for about two to three minutes, until the mixture is pale, fluffy, and smooth. You will see it lighten in colour as you beat it, and that is the air going in, which is what keeps the cookies light. Do not rush this step. Two minutes of proper beating is worth more than any other single thing in this recipe.
Add the vanilla, the egg, and the extra yolk, and beat again until everything is smooth and combined. It will look a little curdled at first, and that is normal. Keep beating for another thirty seconds and it will come together. Scrape down the sides of the bowl with a spatula once or twice as you go, so you do not end up with a streak of unmixed butter hiding at the bottom.
In a separate bowl, whisk together the flour, the baking soda, and the salt. Then add the dry ingredients to the wet ingredients in two goes, stirring gently with a wooden spoon or a spatula. Stir just until you cannot see any more dry flour. The moment the flour disappears, stop. Overmixing at this stage is what makes cookies tough, because it develops the gluten in the flour, and tough is the last thing you want in a cookie. A few streaks of flour are better than a minute of extra stirring.
Fold in the chocolate chips, or the chopped chocolate, or both. Stir them through evenly so that every scoop of dough has a good amount of chocolate in it. Save a small handful of chocolate chips to press into the tops of the cookies before baking, because it makes them look like the ones in the photographs, with chocolate showing on the surface instead of hidden inside.
Scoop the dough into balls about the size of a golf ball, roughly two tablespoons each, and place them on the lined trays, leaving about five centimetres between them. The cookies will spread as they bake, and they need room. Press a few of the reserved chocolate chips into the top of each ball, and sprinkle over a little flaky sea salt if you are using it. The salt on top is optional, but it is a small touch that makes a real difference, especially with dark chocolate.
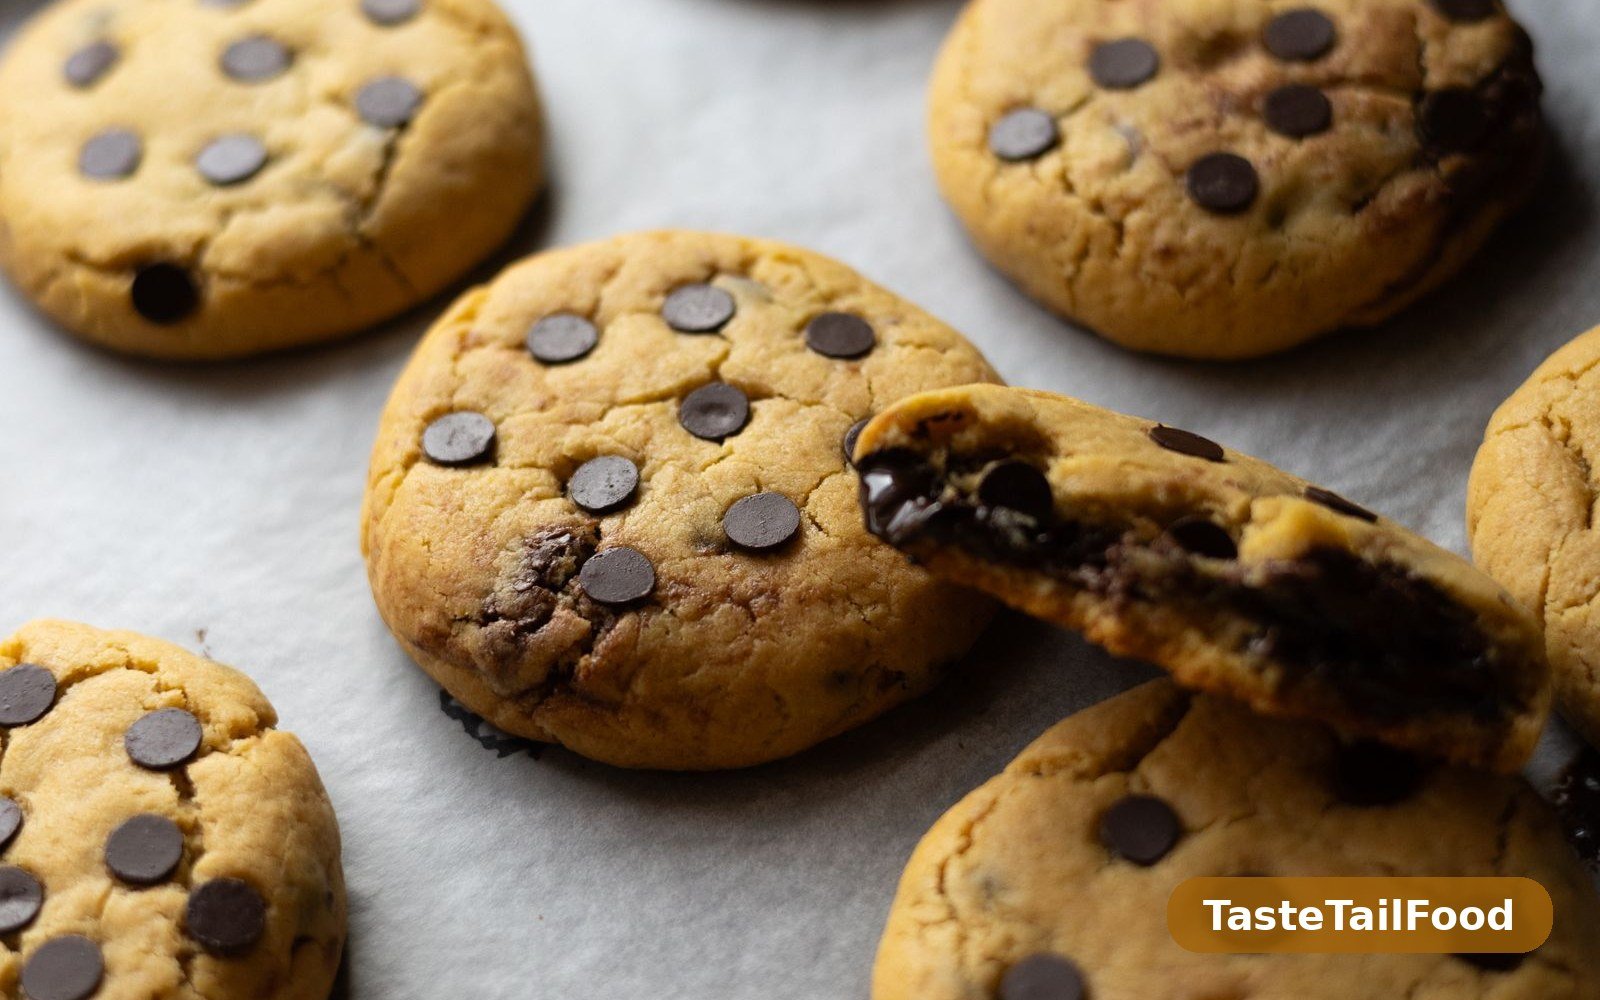
Bake one tray at a time in the middle of the oven for ten to twelve minutes. The cookies are done when the edges are set and golden, but the centres still look slightly soft and pale. They will look underdone, and that is exactly right. They keep cooking on the hot tray for a few minutes after they come out of the oven, and that is what finishes them. If you wait until they look fully baked in the oven, they will be overbaked by the time they cool. Take them out while the centres still look soft.
Let the cookies sit on the tray for five minutes, then move them to a cooling rack. They will be too soft to move straight away, and they will fall apart if you try. Five minutes on the tray lets them firm up enough to hold together, while the centres stay soft. If you do not have a cooling rack, a clean plate works, though the bottoms will stay a little softer. Repeat with the second tray, and try not to eat them all while they are still warm. I say try, because I have never managed it myself.
THE BROWN BUTTER VERSION
If you want to take these cookies one step further, try making them with brown butter. It is the same recipe, with one extra step, and it gives the cookies a deeper, nuttier, almost toffee-like flavour that is hard to beat. Melt the butter in a small pan over medium heat, and let it cook, swirling the pan gently, until it turns golden brown and smells nutty. It takes about three to four minutes. Pour it into a bowl, including the little brown bits at the bottom, and let it cool for fifteen minutes until it is warm but not hot. Then use it in the recipe exactly as you would use softened butter.
Brown butter cookies spread a little more than the regular version, because the butter is liquid when it goes into the dough, so I add an extra two tablespoons of flour to balance it. They also taste better the next day, which is unusual for a cookie. If you make them for a party or a bake sale, brown the butter the night before and keep it in the fridge, then bring it back to room temperature before you start. It is a small amount of extra work for a big difference in flavour, and once you have tried it, you may never go back.
COMMON MISTAKES AND HOW TO AVOID THEM
The most common problem is cookies that spread into thin, flat discs. Almost every time, the cause is butter that was too soft or melted, or dough that went into a cool oven. If your kitchen is warm, pop the scooped dough into the fridge for fifteen minutes before baking. Cold dough spreads less, and fifteen minutes is enough to make a real difference. If your cookies still spread, check your baking soda. Old baking soda loses its power, and if yours has been open for more than six months, it is probably time for a new box.
The opposite problem is cookies that stay thick and dry, and that is almost always too much flour. Spoon it, do not scoop it, and if you are not sure, weigh it. The other cause is overbaking. A cookie that looks done in the oven is already overdone, so trust the timer and take them out while the centres still look soft. They will finish on the tray.
If your cookies bake unevenly, with some dark and some pale on the same tray, the likely cause is an oven with hot spots. Most ovens have them. Turn the tray halfway through the baking time, and bake one tray at a time in the centre of the oven, rather than two trays at once. It takes a little longer, but the results are much more even.
And if the chocolate sinks to the bottom of the cookies, the dough was probably too warm or too wet. Let the dough rest for ten minutes before scooping, or chill it briefly, and the chocolate will stay where it belongs. Using chopped chocolate instead of chips helps too, because the pieces are larger and they do not sink as easily.
STORING AND FREEZING
These cookies keep well, which is a good thing, because you will probably want to make a double batch. Store them in an airtight container at room temperature and they will stay soft for three to four days. Put a slice of bread in the container with them, and they will stay soft even longer, because the cookies absorb moisture from the bread. It sounds odd, but it works, and the bread goes stale instead of the cookies.
If you want to keep them longer, the freezer is your friend. Baked cookies freeze well for up to three months in a sealed bag or container. Let them thaw at room temperature for about twenty minutes, or warm them in a low oven for five minutes if you want them to taste freshly baked. The dough freezes even better than the baked cookies. Scoop it into balls, freeze them on a tray until solid, then transfer them to a bag. You can bake them straight from frozen — just add two minutes to the baking time. It means you are never more than fifteen minutes away from warm cookies, which is a dangerous thing to know.
For food safety, baked cookies are straightforward, but it is still worth knowing the basics of storing baked goods properly. The USDA has clear guidance on leftovers and food safety that covers how long baked goods keep and how to store them safely, and it is a useful reference if you bake often.
WHAT TO SERVE WITH THEM
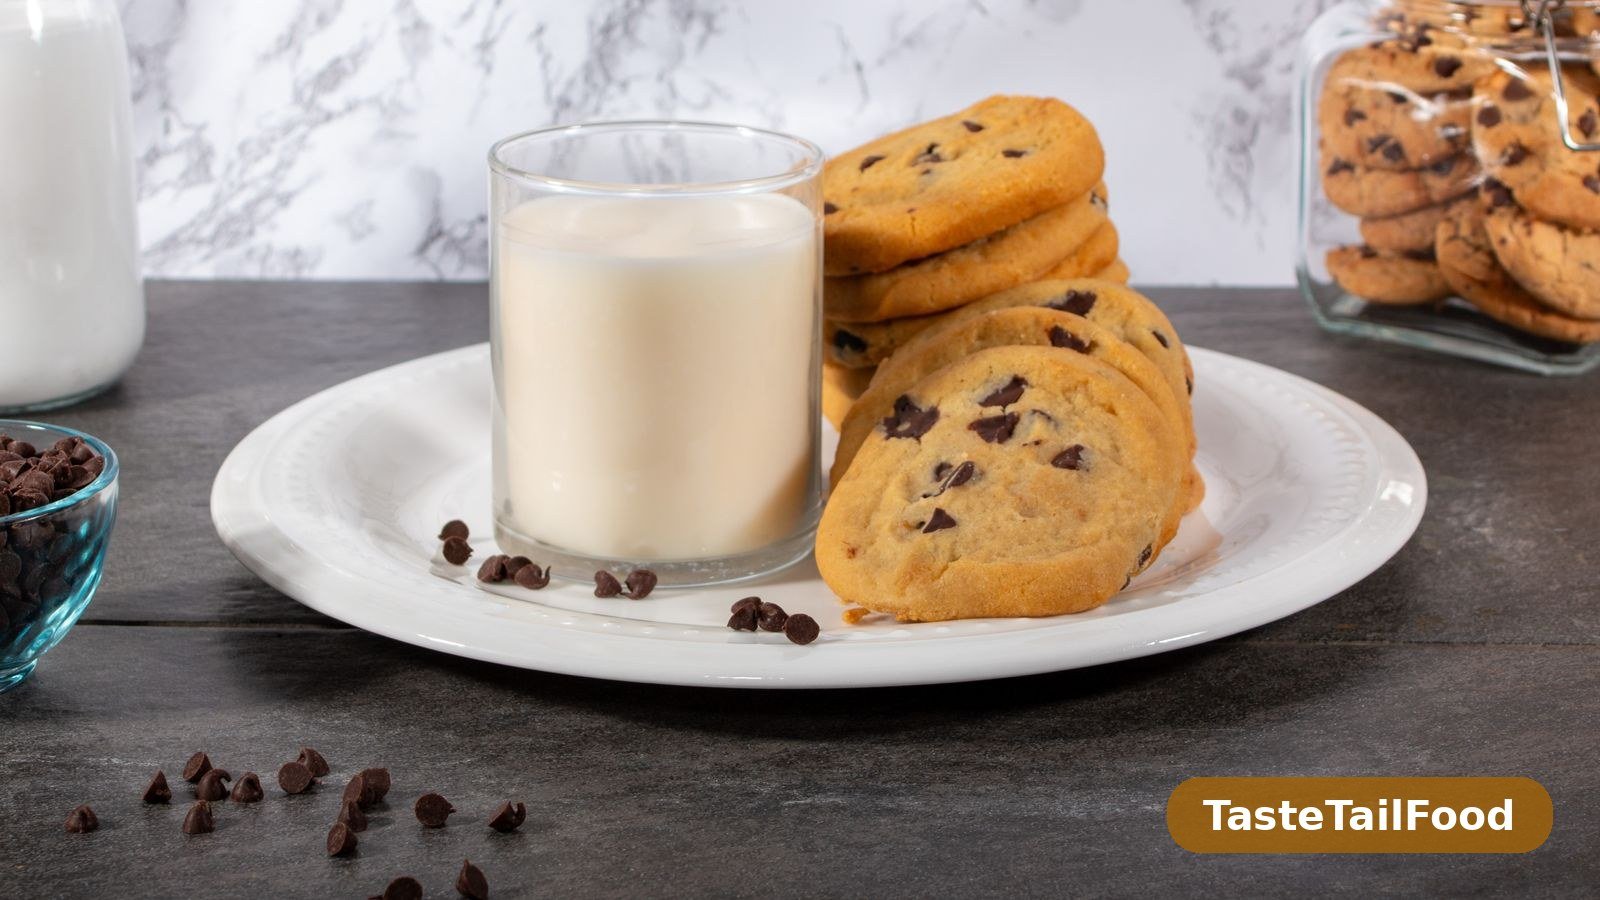
A chocolate chip cookie on its own is already a complete thing. It does not need anything else. But some pairings are so natural that they feel like part of the recipe, and the most obvious one is a cold glass of milk. There is a reason children dunk cookies in milk, and it is not just habit. The cold milk against the warm cookie, the way the cookie softens at the edges when you dip it, is one of the small perfect pleasures in life. If you are serving these to children, pour the milk first, because they will ask for it the moment the cookies come out of the oven.
For adults, a cup of coffee or tea is the natural partner. The bitterness of coffee balances the sweetness of the cookie, and a strong cup of tea does the same job. A scoop of vanilla ice cream between two cookies makes a sandwich that is better than most desserts you will find in a restaurant. And if you are putting together a dessert table, these cookies sit happily next to brownies, fruit, and anything else sweet, because they are the thing everyone reaches for first.
Cookies also make a good finish to a proper dinner. After a simple, satisfying meal like our easy chicken dinner with pantry ingredients, a warm cookie with a cup of tea is the perfect ending — nothing heavy, nothing fussy, just something sweet to finish with. On a cold evening, when dinner has been something comforting like our simple chicken soup with pantry ingredients, cookies straight from the oven turn an ordinary supper into something that feels like a small occasion.
And if you are baking for a crowd, think about the whole table. A plate of cookies next to a bowl of our crispy air fryer potatoes without flour makes a snack spread that covers both sweet and savoury, which is exactly what people want at a gathering. Everyone takes a little of each, and nobody has to choose. If you need something quick for lunch before an afternoon of baking, our easy garlic noodles with vegetables take about fifteen minutes and leave you plenty of time to get the cookies in the oven.
VARIATIONS WORTH TRYING
Once you have the basic recipe working, it is easy to make it your own. The dough is forgiving, and most changes are a matter of swapping one thing for another rather than rewriting the recipe. Add a cup of chopped walnuts or pecans for crunch, and toast them lightly first so they taste of themselves rather than of raw nut. Stir in a handful of dried cranberries or chopped dried cherries for a tart contrast to the sweet chocolate. Swap half the chocolate chips for white chocolate and add a handful of dried cranberries, and you have a completely different cookie that still uses the same method.
For a salted caramel version, press a soft caramel into the centre of each dough ball before baking, and sprinkle the tops with flaky salt. The caramel melts as the cookie bakes and leaves a soft, gooey centre that people will ask you about. For a double chocolate version, replace three tablespoons of the flour with cocoa powder, and use white chocolate chips instead of dark. The result is a dark, rich cookie that tastes like a brownie in cookie form.
If you need to make these without nuts, or without dairy, the recipe adapts. A good plant-based butter works in place of dairy butter, though the cookies will spread slightly more, so chill the dough for fifteen minutes first. For a gluten-free version, use a one-to-one gluten-free flour blend, and let the dough rest for ten minutes before scooping, so the flour has time to absorb the moisture. The texture will be slightly different, a little softer and less chewy, but the flavour will be the same.
WHY HOMEMADE BEATS SHOP-BOUGHT
There is nothing wrong with a shop-bought cookie, and I have eaten plenty of them. But a homemade chocolate chip cookie is a different thing entirely. It is warm when you eat it. The chocolate is still soft. The edges are crisp in a way that a cookie from a packet never is, because a packet cookie has been sitting for weeks and has gone soft all the way through. A homemade cookie has contrast — crisp outside, soft inside — and that contrast is what makes it worth making.
There is also the simple pleasure of baking itself. The smell in the house, the sound of the mixer, the moment you open the oven and see a tray of golden cookies that you made with your own hands. It is one of the few things in a kitchen that is both completely practical and completely joyful, and it takes less than half an hour. If you have children, let them help. Let them stir the chocolate chips in, let them press the chips on top, let them eat the dough. Those are the afternoons they will remember.
And the recipe scales to whatever life needs. A single batch for a quiet evening. A double batch for a school bake sale. A bag of frozen dough balls in the freezer for the night when a friend drops by unexpectedly and you want to offer them something warm. Once this recipe is in your hands, it becomes a tool you reach for again and again, and it never lets you down. That is really all a good recipe needs to be.
FREQUENTLY ASKED QUESTIONS
Do I need to chill the dough before baking?
No, you do not need to chill this dough. The recipe is written to work straight away, and the cookies will hold their shape as long as the butter was soft and not melted. Chilling is useful if your kitchen is very warm, or if your cookies have spread too much in the past, but it is not a required step. If you do chill the dough, let the scooped balls sit at room temperature for ten minutes before they go in the oven, so they bake evenly.
Why did my cookies come out flat?
Flat cookies almost always mean the butter was too soft or melted, or there was too little flour in the dough. Make sure the butter is soft but still holds its shape, and spoon the flour into the cup rather than scooping it. An oven that is not hot enough will also cause spreading, because the cookies melt before they have a chance to set, so let the oven preheat fully before the first tray goes in. If your kitchen is warm, chill the scooped dough for fifteen minutes before baking.
Why are my cookies hard instead of soft and chewy?
Hard cookies are usually overbaked, or made with too much flour. Take them out of the oven while the centres still look soft and slightly underdone, because they finish cooking on the hot tray. If you wait until they look fully baked, they will be too firm by the time they cool. Too much flour makes them dry and cakey, so measure the flour by spooning it into the cup and levelling it off, or weigh it if you have a scale.
Can I use margarine instead of butter?
You can, but the cookies will not taste as good, and they will spread more. Margarine and spreads contain water, and that water turns to steam in the oven and makes the cookies spread thin. Real butter gives a richer flavour and a better texture. If you must use a spread, choose one with a high fat content, and chill the dough for at least thirty minutes before baking to help it hold its shape.
Can I freeze the cookie dough?
Yes, and it freezes very well. Scoop the dough into balls, freeze them on a tray until solid, then put them in a sealed bag. They will keep for up to three months. Bake them straight from frozen, adding two minutes to the baking time. It is one of the best tricks in baking, because it means you can have warm cookies in fifteen minutes without making a fresh batch of dough.
How do I keep the cookies soft after baking?
Store them in an airtight container at room temperature, and put a slice of bread in the container with them. The cookies absorb moisture from the bread and stay soft for days, while the bread goes stale. Do not store them in the fridge, because the cold dries them out and makes them firm. If they do go a little firm, warm them in the microwave for ten seconds, or in a low oven for a few minutes, and they will soften again.
Can I make these cookies without eggs?
You can, though the texture will be a little different. Replace the egg and the extra yolk with three tablespoons of milk and one tablespoon of oil, or use a shop-bought egg replacer according to the packet. The cookies will be slightly less rich and a little more crumbly, but they will still taste good. Let the dough rest for ten minutes before scooping, so the flour absorbs the moisture properly.